
The AnyPress node for n8n creates and manages your clients’ sites in one step, with no web request to write. The AnyPress Trigger starts a workflow when a site is ready, fails, is suspended and more.
Install it #
- In n8n, open Settings, then Community nodes, and choose Install.
- Enter
n8n-nodes-anypressand install it. - Search for AnyPress when you add a node.
This works on any self-hosted n8n today. On n8n Cloud, the node shows up in the nodes panel once n8n finishes verifying it.
Connect your key #
- Sign in at app.anypress.io and open API keys. Make a key and copy its secret: it is shown once.
- In any AnyPress node, choose Create new credential.
- Paste the key into API Key and the secret into API Secret. Leave API Address as it is.
With a partner key, every AnyPress node shows a Storefront list. Pick the storefront the site belongs to. With a storefront’s own key, leave it on the first choice.
Create a site #
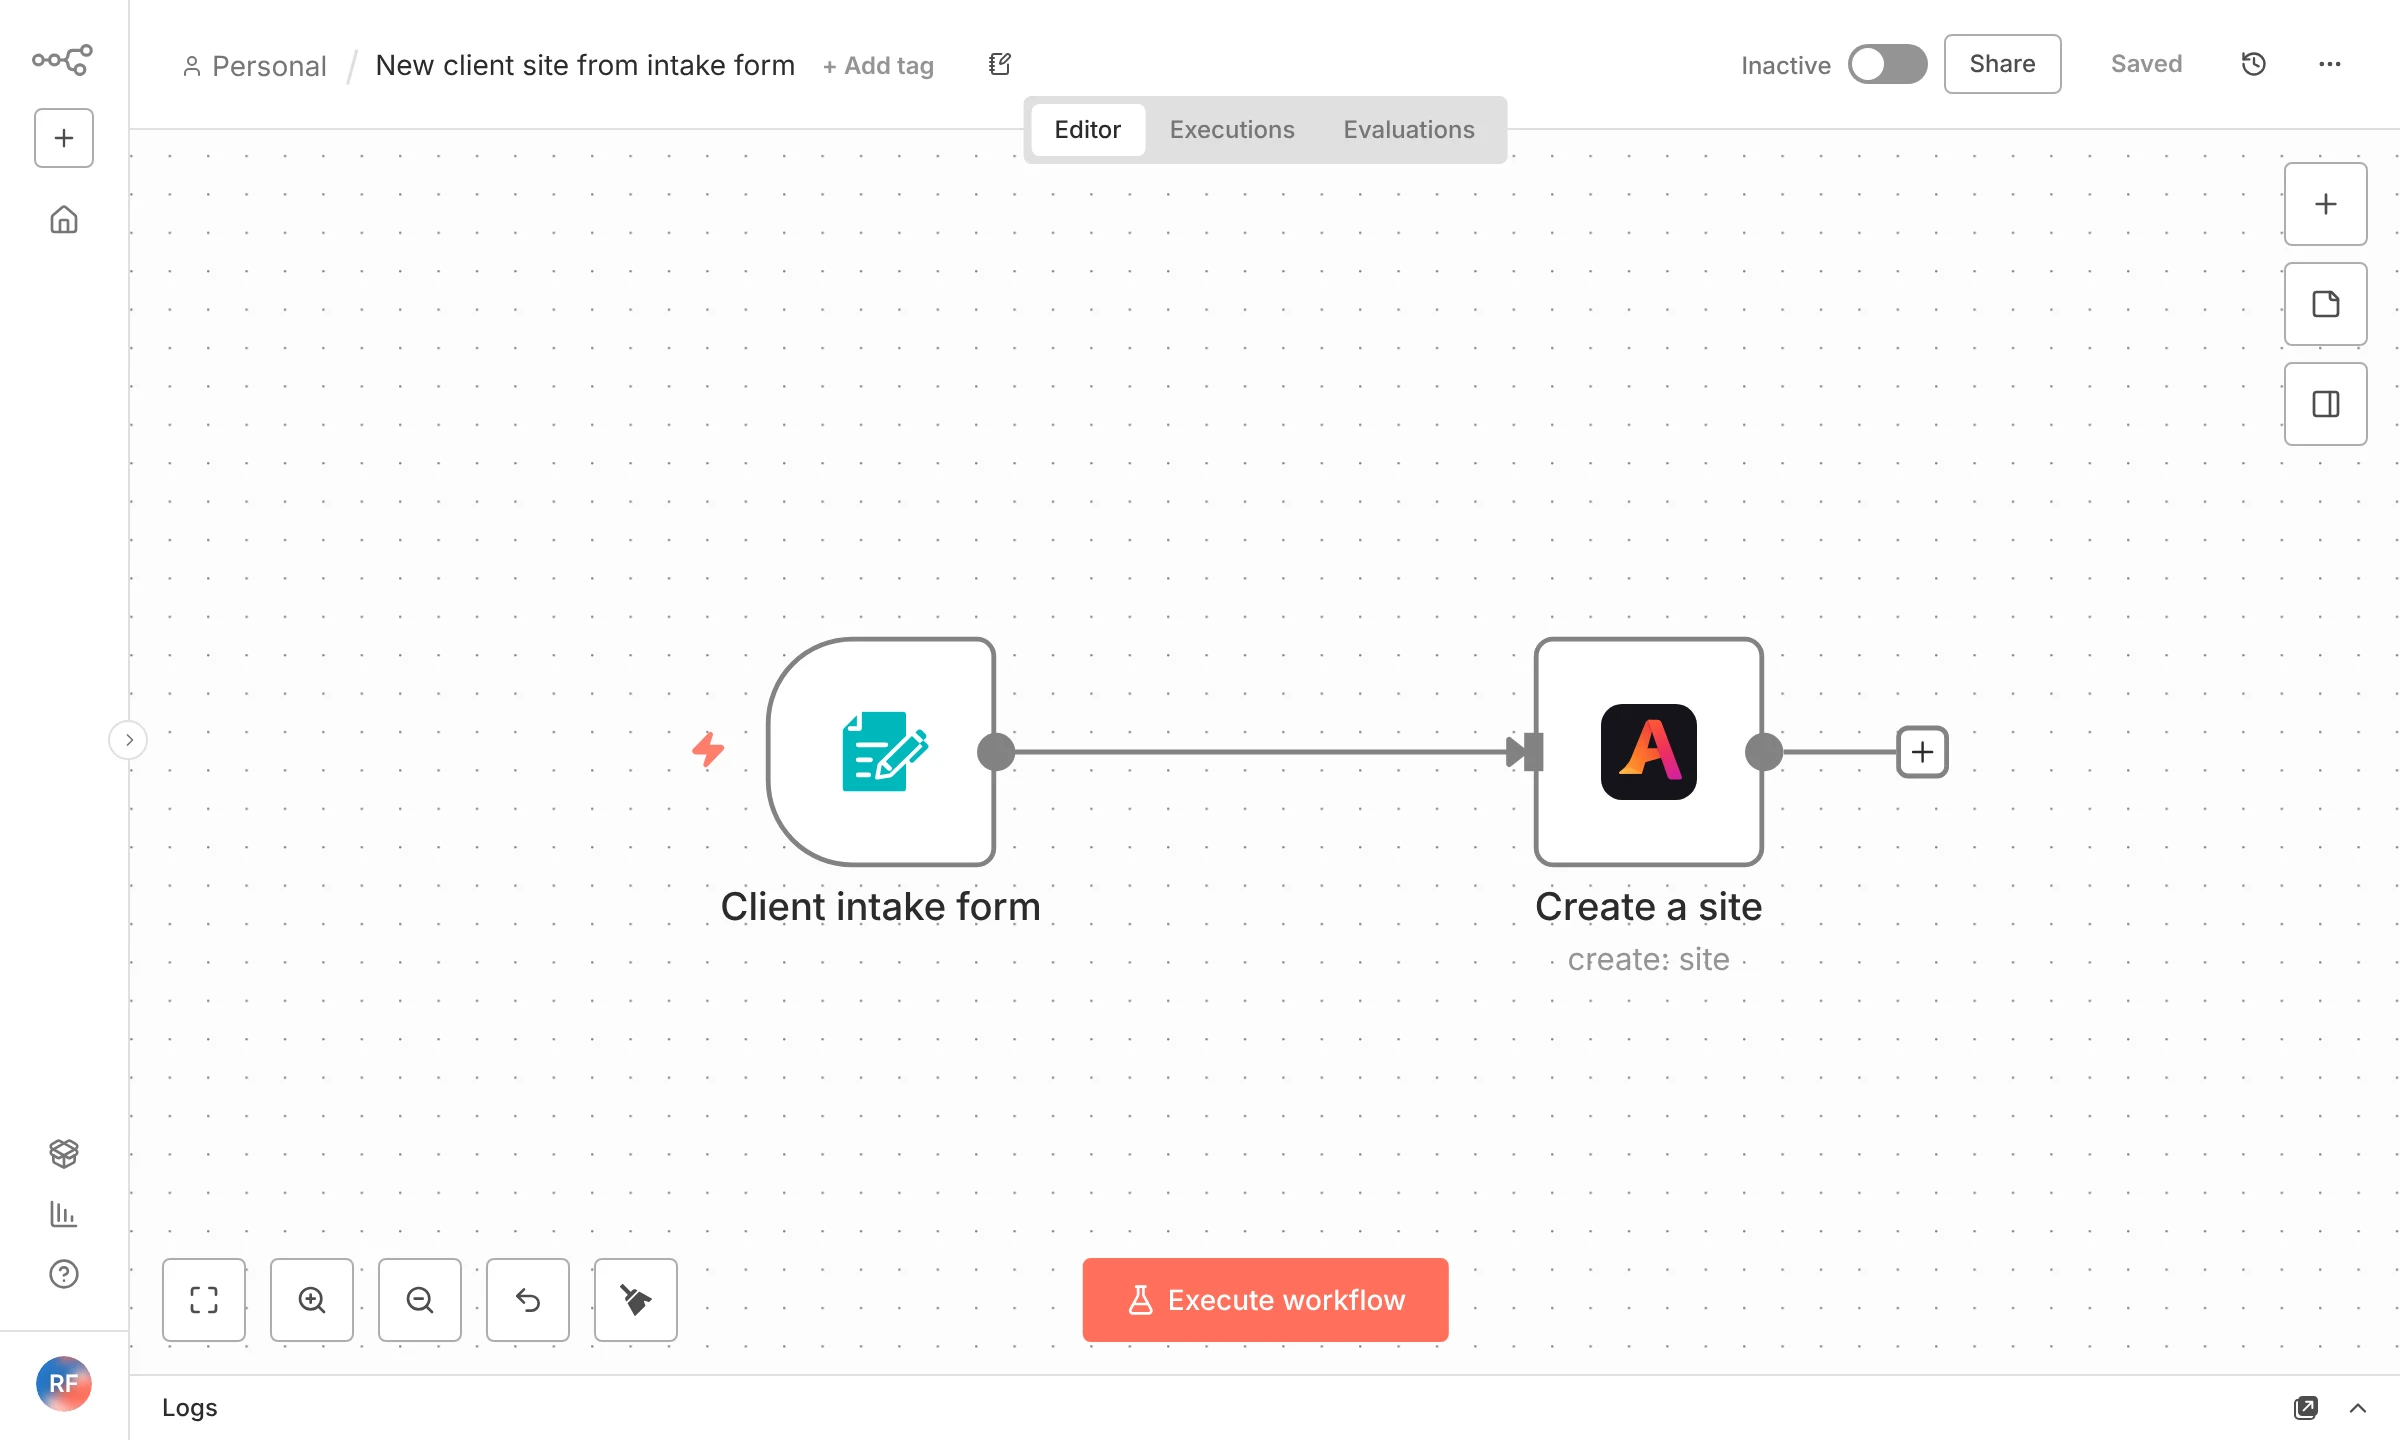
- Add the AnyPress node and choose Create.
- Fill in Site Name, and map Client Email from your form or CRM to make their WordPress login.
- Put your order, deal or form entry number in Your Reference. If the workflow runs twice, the second run gets the same site back instead of building another.
- Under Additional Fields you can pick the Size, which Starting Site Group to copy, and the client’s own domain.
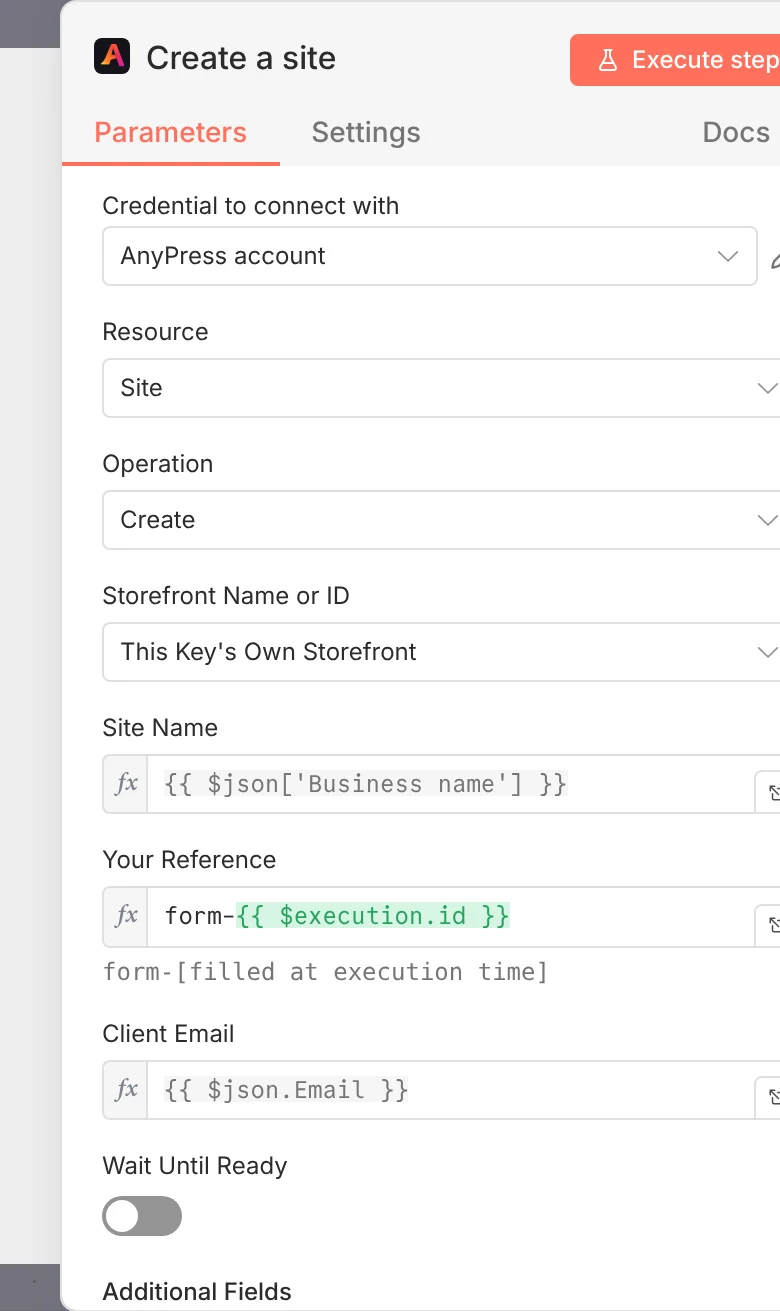
The node answers at once, while the site is still being built. Turn on Wait Until Ready to wait for it (usually a few minutes), or use the trigger below.
Get, suspend, resume or delete a site #
Choose the operation, then find the site by Your Reference or by its Site ID. Suspend backs the site up first unless you turn Back Up First off. Delete keeps its backups, so it can be restored.
Start a workflow when a site is ready #
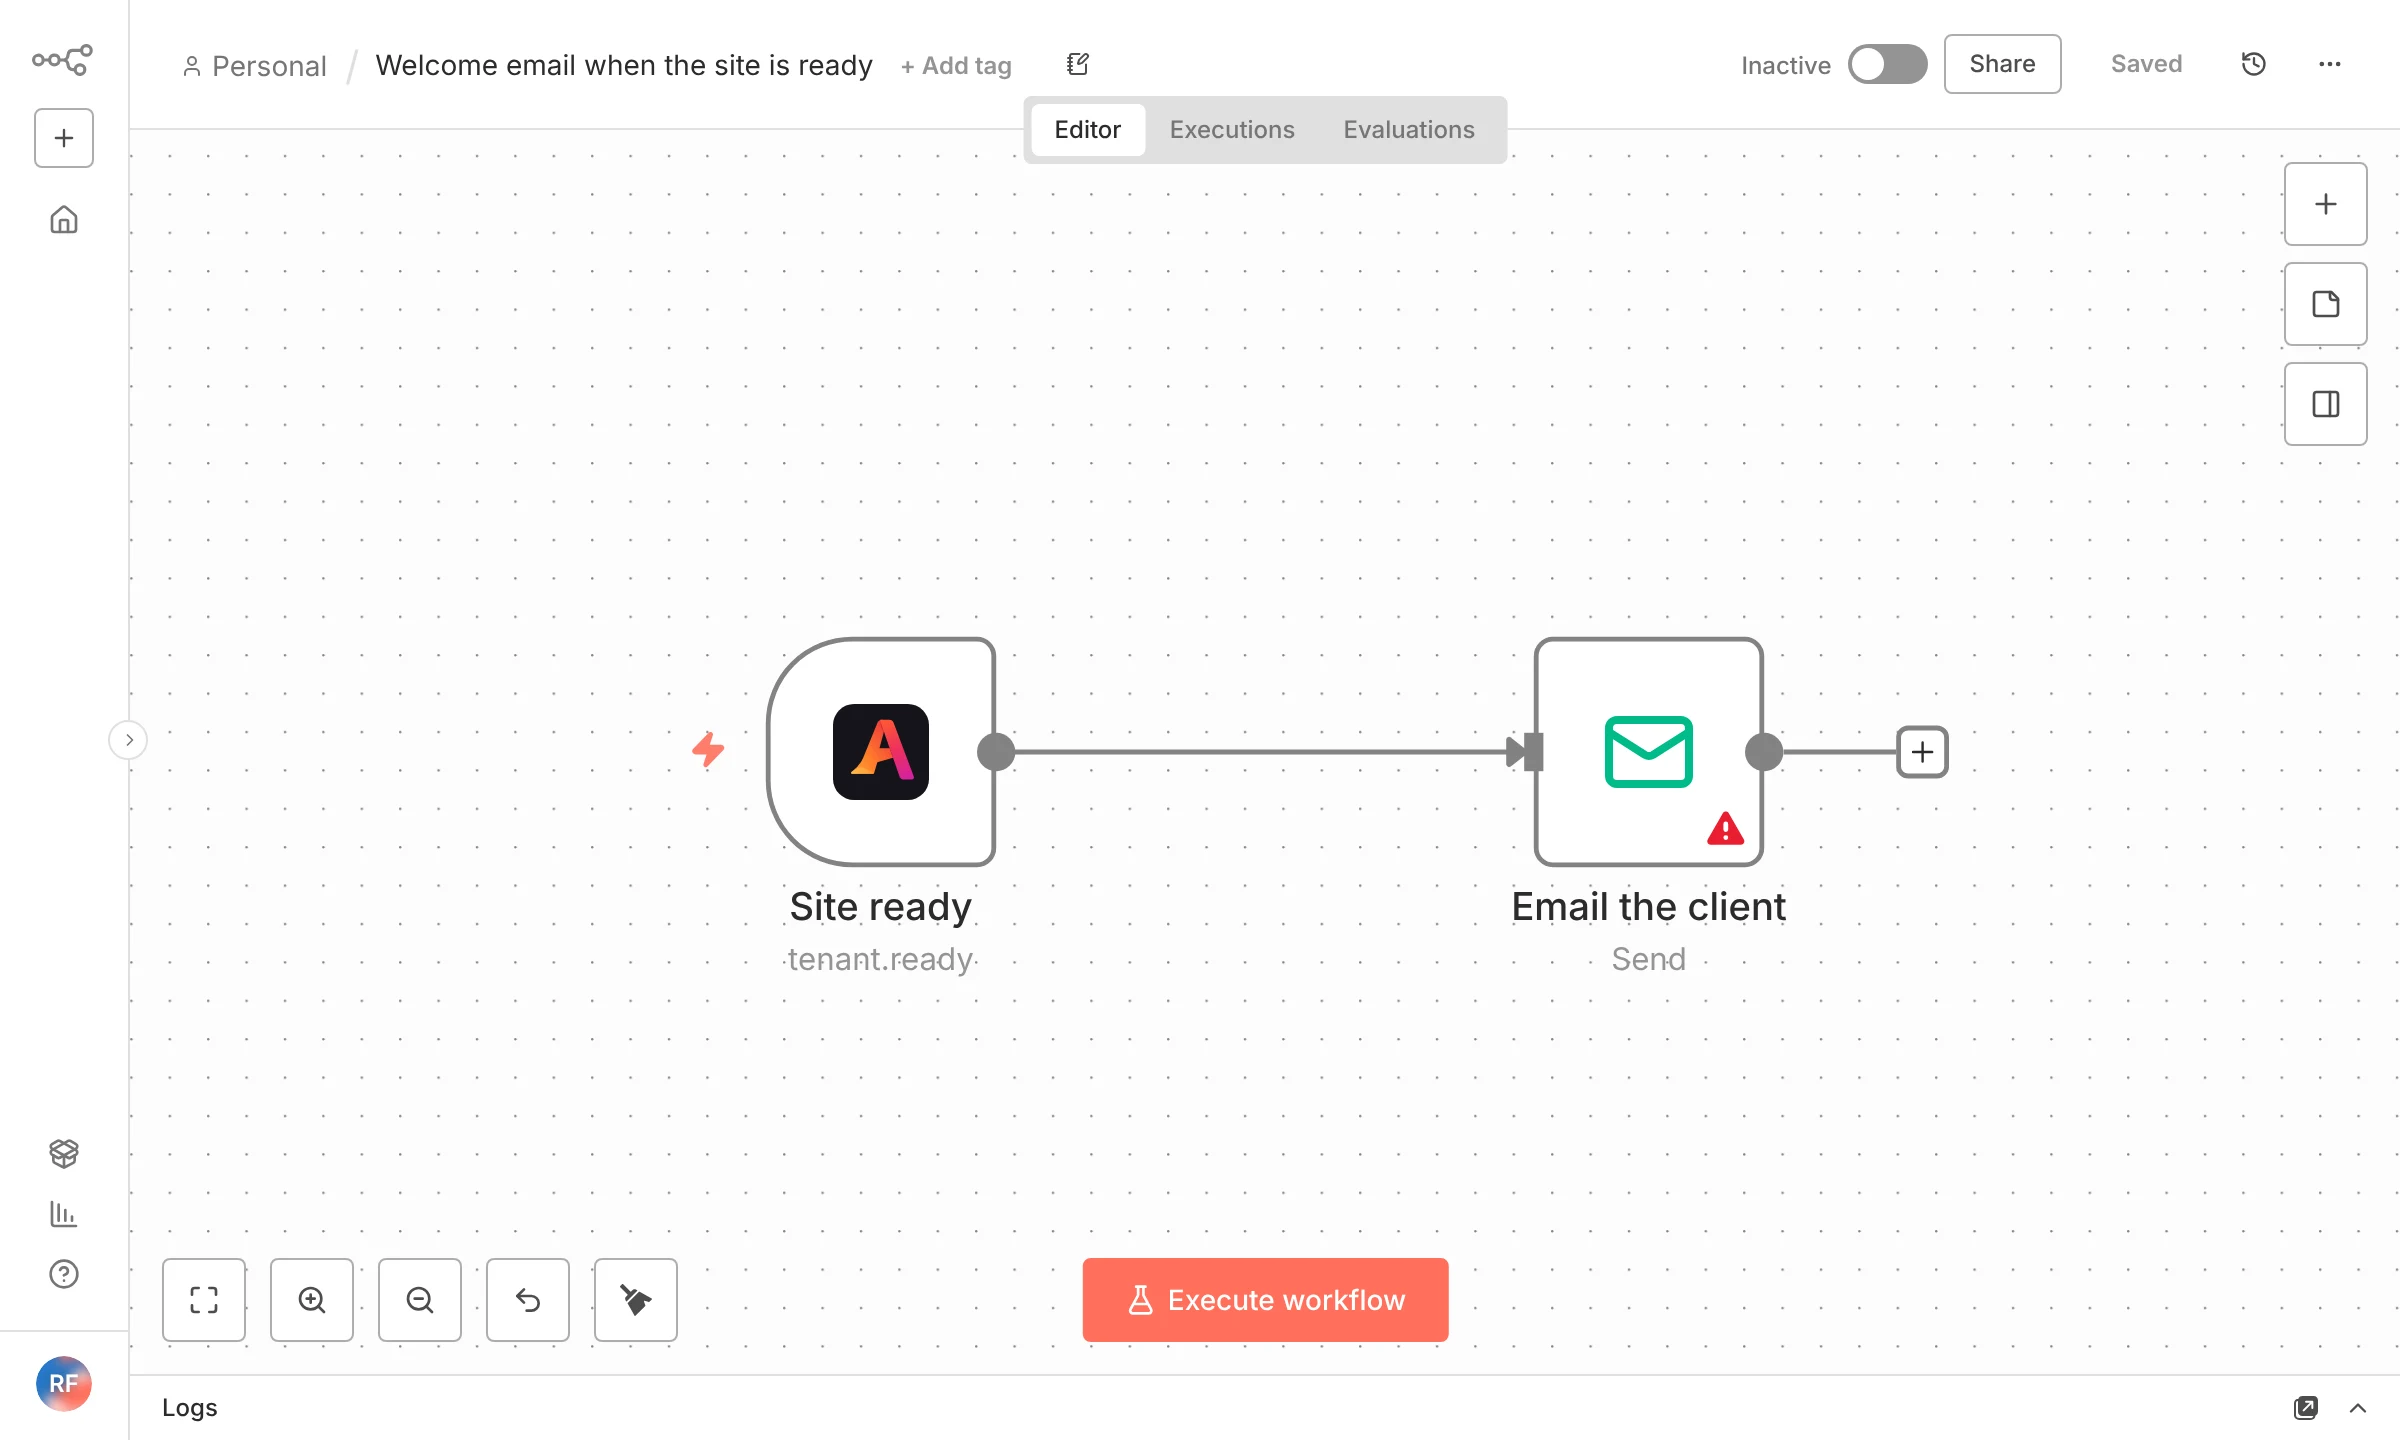
- Start a workflow with the AnyPress Trigger.
- Pick the Events to listen for. Site Ready is picked for you.
- Turn the workflow on. The trigger registers itself with AnyPress, and removes itself when you turn the workflow off.
Each event brings the site with it: its name, your reference, its status and its address. A good next step is an email to the client with their address and a link to choose a password: their address followed by /wp-login.php?action=lostpassword.
The trigger checks the signature on every request, so nothing that didn’t come from AnyPress starts your workflow. AnyPress only sends to https:// addresses on the public internet: n8n Cloud works as it is, and a self-hosted n8n needs its own public domain.
Questions? Write to support@anypress.io.
Start from a template #
Ready-made workflows are on anypress.io/automate: a form or a Stripe payment creates a site, an ended subscription suspends it, and a finished site emails your team. Choose Copy workflow, click an empty n8n canvas and paste (Ctrl+V, or Cmd+V on a Mac). Then open each AnyPress step, pick your AnyPress login, and turn the workflow on.
Watch it #
More videos: Video guides.


